The Carport Building Process
Building Your Own Carport: A Complete Step-by-Step Guide
Adding a carport to your property is one of the best ways to protect your vehicles from the elements while also boosting your home’s curb appeal. This comprehensive DIY guide will provide you with everything you need to know to plan, design, prep, construct and complete your own carport project.
What exactly is a carport?
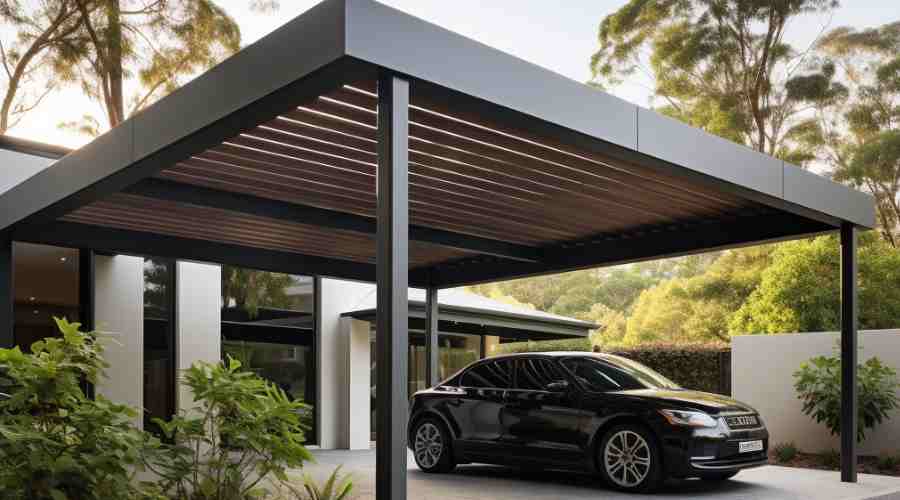
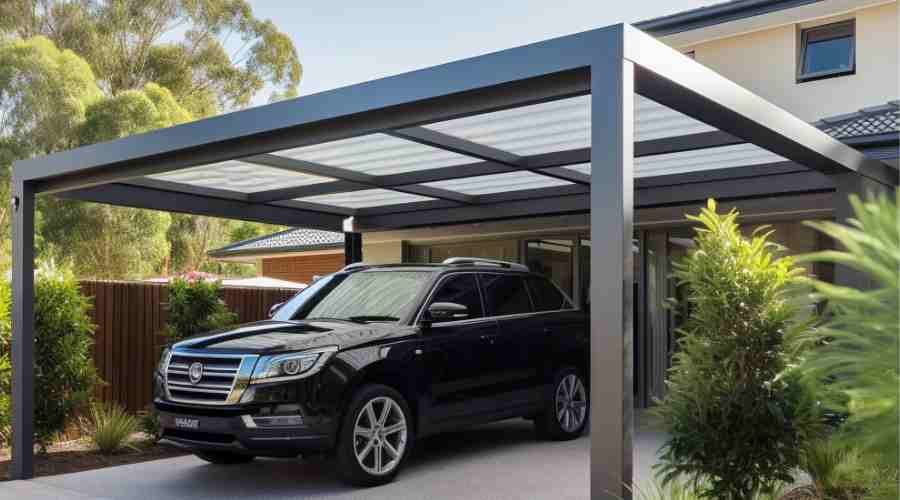
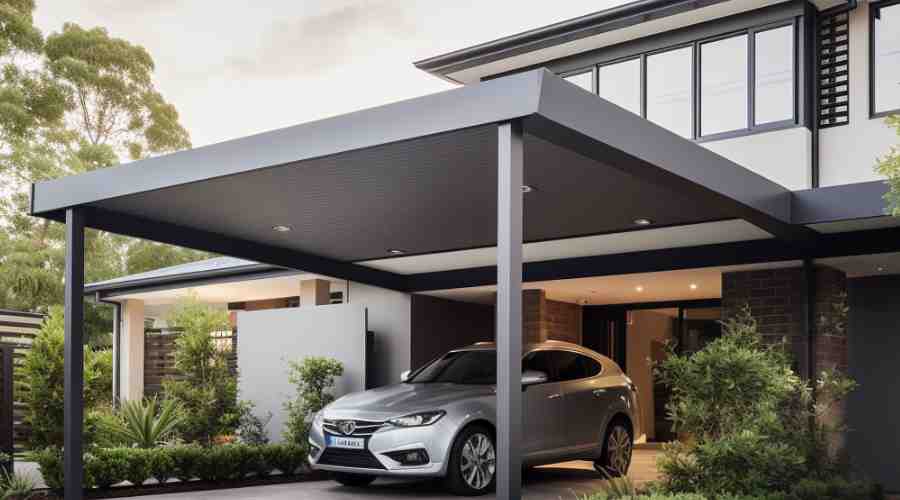
A carport is a simple covered structure built to provide shade and shelter for vehicles. The roof is supported by posts or beams, and unlike a garage, the sides are typically left open.
Carports offer many great benefits:
- Protect cars, trucks, boats from sun, rain, hail and snow
- Provide covered parking areas to keep interiors cooler
- Enhance visual appeal of your home’s exterior
- Create useful covered spaces for storage, recreation or work
- Often don’t require permits compared to permanent garages
- More affordable and easier to build than garages
In this comprehensive guide, we’ll cover:
- Key planning considerations – location, size, materials
- Hiring a contractor vs tackling it yourself
- Design factors – roof style, features to include
- Prepping the build site – marking, digging, concrete
- Framing construction plan
- Finishing touches – roof, gutters, extras
- Maintenance tips to maximise longevity
With proper planning up front and taking it slowly during the build, you can create your own carport successfully.
1. Planning Your Carport Project
Careful planning is crucial before starting your DIY carport project. Consider where it will be located, the optimal size, material choices, and whether you need to pull permits or hire a contractor.
Choosing the Optimal Location
The first building plan is deciding on the best location to install your carport. Look at the positioning in terms of:
Practicality
Face the opening away from prevailing winds and rains. Ensure there is adequate clearance from power lines, trees, and other structures on your property. Allow enough space around the entrance and sides for easy vehicle access.
Sun direction
Avoid casting shadows from the carport onto your home. Take note of where the sun rises and sets when picking the orientation.
Aesthetics
Consider sightlines from the street and your home interior when choosing placement. Pick a location that balances function with complementing your home’s look.
Existing elements
Check for sprinkler lines or any other utilities already running through the planned space. Also take note of drainage patterns.
Council regulations
Verify required setback distances from property lines and any size constraints. Some areas may require special council approvals or building permits.
Hiring a Contractor vs DIY
You’ll need to decide upfront whether to hire a carport contractor or take on the project yourself as a DIY build. Key factors to weigh include:
Cost savings
Building it yourself will cut down on labor costs significantly, but factor in the material expenses you’ll incur.
Contractor experience
A qualified contractor will know local building codes, have all the right tools and machinery, and take care of the entire project from pulling permits to the final cleanup.
Your building experience
How confident are you in your own carpentry skills? Building a carport requires moderate abilities like building posts, framing the roof, pouring concrete footings.
Time investment
While DIY will save on labor fees, it will take a considerable time commitment for you to build the carport. A contractor will complete the project much faster.
Future plans
If there’s a possibility you may enclose the carport into a garage down the road, hiring a professional builder upfront to meet structural requirements can save costs later.
Design Factors to Consider
Once you’ve settled on the location, think about how you want the carport designed. Key factors to consider:
Size
Measure the vehicles that will be parked in the carport and allow ample entrance and exit clearance. Factor in room to open doors fully as well.
Roof style
Gable carport, hip, lean-to, flat, and angled rooflines are all common styles. Match or complement your home’s existing roof.
Materials
Wood, metal, plastic and other composites are typical carport building materials. Consider durability as well as appearance.
Features to include
Lighting, garage-style doors, side screen panels or storage closets are popular additions.
Sketch out a few initial carport design ideas and get feedback from family and your council’s planning approval department before finalising plans.
2. Pre-Build Preparations
Once you’ve settled on carport plans, complete these important steps to prep the build site before construction process begins:
Mark Out the Structure Layout
- Use wooden stakes and masonry string to map out the 4 corners and outline of the carport based on your plans.
- Preliminary check the diagonal measurements to ensure the outline is perfectly square.
- Use spray paint or flour to mark the post hole locations.
Digging the Holes
- Dig holes at least 2-3 feet deep and as specified by your plans. Dig one hole at a time and move the soil well away from the holes.
- Hole depth depends on climate and frost line level. In colder areas, holes may need to be 3-4 feet deep to sink the posts below the frost line and prevent heaving.
Pour the Concrete Footings
- Mix concrete to the correct consistency per instructions.
- Place metal or plastic post saddles in the holes, centered and level.
- Pour concrete into the holes up to grade level. Allow proper cure time before installing posts.
3. Constructing the Carport Frame
Now the fun part begins – it’s time to start constructing the carport! We’ll go with the basic steps through installing the posts, beams, rafters and roof frame.
Installing the Carport Posts
They form the key vertical supports, so take care to install them properly:
- Lift them into position, centered over the saddles in the concrete footings.
- Use a spirit level to verify the posts are perfectly plumb and vertical on all sides.
- With them aligned properly, bolt them securely into the concrete footings with bases.
Establishing the Maximum Height
- Determine the needed roof height for your carport size.
- Use a laser level or datum line stretched across the tops of the posts to mark a consistent height point on each post.
- Cut the posts to length using a circular saw or handsaw.
Attaching the Structural Beams
- Measure and mark notches on the posts where the horizontal beams will sit.
- Use a spirit level to ensure the beams are perfectly horizontal.
- Bolt the beams firmly into the notches to connect the entire frame.
Adding the Rafters
- Mark and space the rafters at the same angles and intervals as per your plans.
- Nail the rafters into the horizontal roof beams to create the roof slope.
- Use string lines from the roof ridge board to each end to keep the rafters aligned.
4. Completing the Carport
You’re in the home stretch now! Finish off your carport with these final touches:
Install Guttering
- Attach gutter clips securely along the roof edge.
- Ensure gutters slope slightly towards the drainage outlets so water runs off effectively.
Add the Roof Sheeting
- Start installing the carport roof sheeting or shingles from the bottom edge working upwards.
- Overlap sheets as required and secure into the rafters with appropriate fasteners.
- Finish roofing materials at the highest ridge point using a ridge cap.
Additional Features
Customise your carport with optional extras like:
- Lighting fixtures for visibility at night.
- Garage-style doors to enclose storage areas.
- Side screen panels to block sun/wind while maintaining airflow.
- Workbench or shelving for covered storage space.
5. Maintaining Your Carport
Follow these tips to keep your carport looking its best for years:
- Inspect the structure yearly – check for any loose fasteners, damage, or wear
- Clean the gutters and roof as needed to prevent buildup and water damage
- Re-coat any wood elements with protective sealants to prevent rotting
- Make any needed repairs immediately to prevent bigger problems down the road
Conclusion
Building your own simple carport is an achievable DIY project with proper planning and preparation. Determine the optimal location, size and design plan to suit your needs.
Whether you hire a contractor or DIY carport kit, use this guide to take it step-by-step from laying out the site to installing the final shingle.
Your new carport will provide great curb appeal while reliably sheltering your vehicles. For a customised carport quote suited to your property, contact our team today.


